
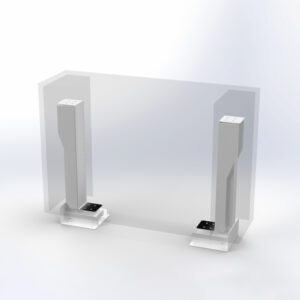
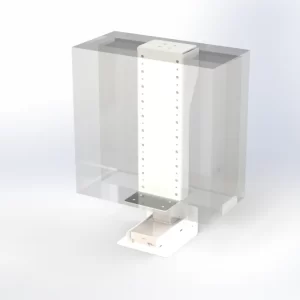
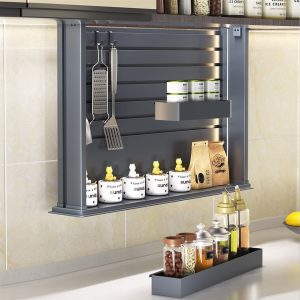
KL 150 Pop Up Hidden storage lift
KL 60 Hidden Storage Lift | Hidden Pop Up Bar Lift

LX 1 Electric Kitchen Island
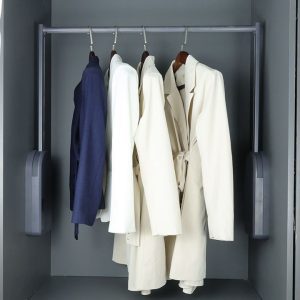
Motorized Clothes Hanger – Tono CH Series Professional Collection
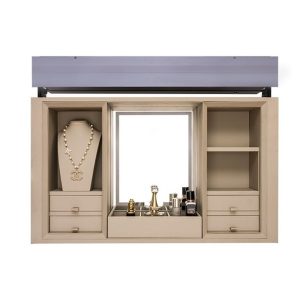

Motorized Dressing Table – DL Series Premium Collection
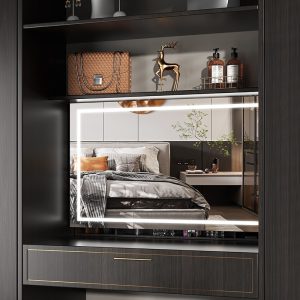
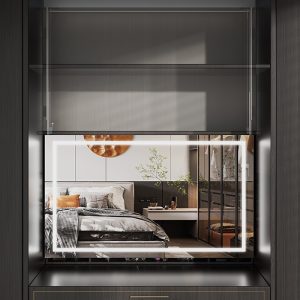
Motorized Mirror Systems – MM Series Professional Collection
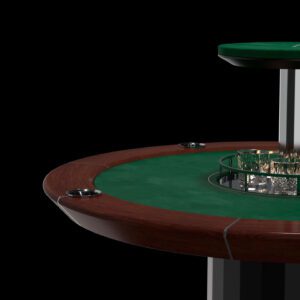
PT 60 – Hidden Bar Lift for Poker Tables
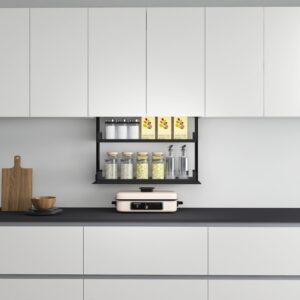
TF11 drop down kitchen cabinet storage lift
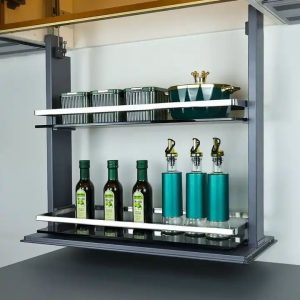
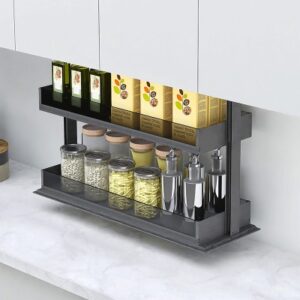
TM Series – Motorized Drop-Down Kitchen Cabinet Storage Lift
Intro:
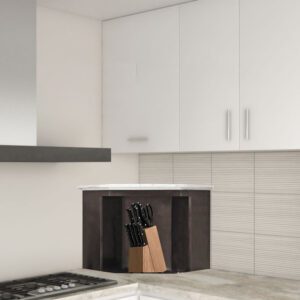
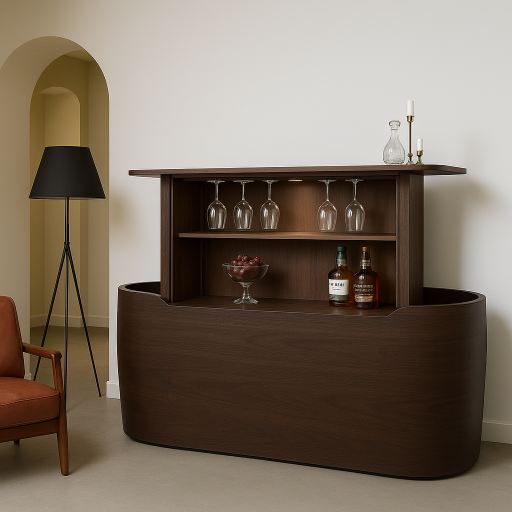
Want to create a show-stopping centerpiece in your living room or kitchen? A motorized hidden bar cabinet adds luxury, surprise, and convenience—all in one. Imagine a sleek console or island where, at the touch of a button, a fully stocked bar quietly rises into view. With modern lift systems like the Tono KL 150, building your own motorized bar is now easier and more reliable than ever.
Why Choose Tono KL 150 for Your Project?
Before we dive into the build, let’s talk about the heart of your hidden bar—the lift system. The Tono KL 150 is purpose-built for projects like this. It features:
-
Silent Motors (Under 45 dB): Ensures smooth, noise-free operation—perfect for homes and hospitality.
-
3-Year Warranty: Built to last, with after-sales support you can count on.
-
Wireless Remote Control (Optional): Raise or lower the bar with a single touch.
-
Home Automation Compatibility: Easily integrate with Alexa or Google Assistant using third-party smart apps.
-
Compact Form Factor: Designed to fit within islands, cabinets, or console furniture.
With these features, the Tono KL 150 takes the hassle out of engineering your own motorized lift and lets you focus on the design.
What You’ll Need:
Materials:
-
MDF or plywood sheets (for cabinet frame)
-
Soft-close hinges and drawer slides
-
Acrylic or tinted glass panels (optional)
-
LED strip lights (12V)
-
Tono KL 150 Pop-Up Hidden Lift
-
RF remote kit (optional)
-
Smart plug or switch module (for Alexa/Google control)
Tools:
-
Circular saw or jigsaw
-
Electric drill/screwdriver
-
Level, tape measure, wood glue, screws
-
Sander or finishing tools
Step-by-Step Guide:
Step 1: Design the Cabinet Space
Choose where your bar will be hidden—kitchen island, sideboard, or custom console. Ensure the internal dimensions can accommodate the KL 150’s lift travel of 660 mm and load your bar accessories safely.
Step 2: Build the Cabinet Frame
Construct a sturdy box with a removable or hinged top surface. Leave room for cable routing and ventilation. Use quality plywood or MDF and finish with laminate, wood veneer, or paint.
Step 3: Mount the KL 150 Lift
Install the KL 150 into the cabinet base using the provided brackets. Attach the lift platform to a custom tray designed to hold your bottles and glasses. Test for clearance and balance.
Step 4: Connect Power & Controls
Plug in the lift using the provided adapter. You can operate the KL 150 via:
-
Wired Switch (included)
-
Optional Wireless Remote (plug-and-play)
-
Smart Control: Pair with a Wi-Fi switch or smart relay and link it to Alexa or Google Home via Tuya or other compatible apps.
Step 5: Add Style and Functionality
Use LED strips for accent lighting. Add glass holders or safety barriers on the lift tray. Use soft-close lids to keep the bar hidden when not in use.
Step 6: Test & Final Touches
Run full up/down cycles to ensure smooth operation. Adjust height limits if needed. Then, stock your bar and impress your guests with a magical reveal.
Why Tono Makes It Easy:
With Tono KL 150, there’s no need to custom-build a lift mechanism or worry about wiring complexities. It’s a plug-and-play solution built for homeowners, designers, and DIYers who want professional-grade results—complete with voice control, remote access, and peace-of-mind warranty.
Conclusion:
Building a motorized hidden bar cabinet used to be a complex task—but with the Tono KL 150, it’s now a stylish weekend project. Whether you’re an interior designer or a DIY enthusiast, this upgrade adds sophistication, automation, and fun to your living space.
